

Whether you're new to lashing or are a seasoned pro, you will have heard of the term 'lash mapping'. But what exactly is lash mapping, and how can it improve the effect of your lash sets and your overall technique?
Most lash artists will have utilised some sort of lash mapping in their training and practice, whether they're aware of it or not. The technique of lash mapping is one which most lash artists will underuse until they see the value it brings when creating sets. Perfecting a lash map method is definitely a 'practice makes perfect' skill, and every technician will have their own unique style. Let's get into it:
What is lash mapping?
Lash mapping is a technique used by lash technicians to create bespoke eyelash extension sets for their clients. It is the process of literally ‘mapping out’ the lengths and curls of the individual lash extensions that you will use in the treatment using a non irritant pen or template. Lash maps are based around your client’s eye shape, natural lash length and the look that you're going for in the set.
How does lash mapping work?
The process of lash mapping involves three simple steps: examination, planning (or 'mapping') and application. Every set of eyelash extensions has its own unique twist, so every map will be slightly different, but you can use templates to standardise the process.
Step 1: Examination
The first step in creating a lash map is examining your client's natural lashes.
Lash extensions should always complement and enhance your client's natural eyelashes and eye shape, so the eye shape will determine where you can place extensions of certain lengths and curls. For example, if your client has downturned eyes, you should avoid a cat eye lash map, as this will emphasise the down turned outer corners of their eyes.
Take a moment to evaluate your client's natural lashes themselves and determine their length, thickness, and curl direction. This will determine what extensions you can use. For example, if your client has short, weak eyelashes, you will want to avoid excessively heavy fans or opt for cashmere lashes, which are a little lighter.
If you don't have time to do this in every appointment, ask your client to send you a selfie before the appointment so that you can plan out what lash lengths you will be using in advance.
Step 2: Mapping
This is the most important step, and the one which gives lash mapping its name! This is the process of drawing out the lengths and curls of the extensions you'll be using on your client's eyelashes. You can draw lash maps on your lash tape, under eye pads or use a template.
This is the step where you can design your eyelash sets in consultation with your client's desired look. Whether your client wants hybrid, wispy lashes, full volume or mega volume eyelash extensions will again determine how you style the set. For example, if the client wants a wispy mega volume set, you would alter the thickness of the volume fans to around 12-16D, whereas if they wanted wispy hybrids, you would use 4-6D fans.
For detailed guides on different lash mapping styles, check out our Guide to Doll Eye Lash Mapping, Guide to Fox Eye Lash Mapping, and Guide to Cat Eye Lash Mapping.
Step 3: Application
Once you have your lash map in place, it's time for application. Be careful to make sure that you draw your lash maps or place your template in a position where you can see your guide clearly and it is not obscured by the natural lashes. Complete your lash application as normal, using your map as a guide.
Why is lash mapping important?
Lash mapping is a key step before starting a lash application as it enables you to personalise any lash look for your clients. Mapping enables you to provide a bespoke effect for every set you complete for your clients. For example, if your client comes to your appointment with an inspiration picture showing a set of wispy volume lashes, you can ensure that you can create a version of this look which suits their eye and face shape.
Lash mapping also helps you to ensure they symmetry of your lash extension sets as the guide or template acts as a visual reminder of when to switch lengths and swap curls throughout the set.
You may also be interested in our blog: What are the Best Lash Styles for Different Eye Shapes?
Are lash map templates good to use?
Lash map templates/ guides are a great way to help you to get started with lash mapping, refine your technique and try different styles! Although it's important to tailor eyelash extensions for your clients, templates are awesome for the following reasons:
Good for getting started with lash mapping
If you have never tried the lash mapping technique before, it makes complete sense to use a template to get used to marking out the different lengths and curls you will be using in your treatment. Rome wasn't built in a day, so if you're unsure where to start, there is nothing wrong with using templates as a springboard!
Maps are the ultimate inspo
Guides are also a wonderful source of inspiration when your client wants to try something new or you want to learn a new style. Lash techs should always try new and interesting eyelash styles to keep up with the latest trends and ensure our sets are the best that they can be.
Here, at BELO, we love trying out new maps and sharing them with our community. Check out our TikTok where we shared a fun cat eye lash map:
@belolash Screenshot & try! #lashes #lashextensions #lashmaps #lashmapping #lashtech #lashartist #uklashtech #lashtutorial #belolash ♬ original sound - 🔊🖤
Of course, as lash artists, it's key to put your own spin on any template that you find. Pre- made lash maps and templates should act as guides for you to find your own way to master an adaptable style that you can bring to your clientele.
How to Lash Map:
Wispy lash mapping
Everyone loves a wispy lash: they're the perfect mix of natural and drama. And with a wispy lash map, you can guarantee a perfect set every time.
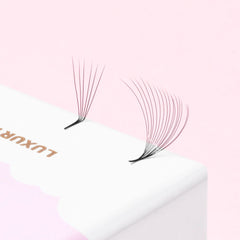
The key to wispy lashes is evenly interspersing volume fans with narrow fans along the lash line. This makes the eyelash extensions more dynamic and interesting, as well as providing that beautiful fluttery effect. Volume lashes are the best lash type to play around with wispy looks, as you can create romantic, fluttery wispy lashes or put a spiky contemporary spin on a wispy volume set.
@belolash When your client requests long but short/full but wispy😁 #lash #lashestutorial #lashextensions #lashmapping #wispylashes #lashmaps #uklashtech #animelashes #lashtech #lashartist #lashesmanchester #fyp #foryou #trending ♬ She Freaky She Sneaky - skeete_music
As with all eyelash sets, taper the length of your extensions around the inner corner (we would recommend to not use lashes over 9-10mm in length on inner corners) and adjust the length of the rest of the lashes according to the desired style. For an open eye/ doll eye wispy look, you will need to place the longest lash extensions in the middle of the lash line to accentuate the iris.
Hybrid lash mapping
Hybrid lashes are an umbrella term for many lash styles, as you can achieve many different looks with hybrid eyelash extensions. Hybrid simple refers to using a combination of volume fans and classic individual lashes throughout the lash line to achieve a natural volume look. Because of this, you can have cat eye hybrid lashes, wispy hybrids, doll eye hybrids - you name it! For example, to create a cat eye hybrid look, you would place the longer extensions toward the outer corners to create that feline, sexy look.
For a hybrid lash map, you need to adjust the ratio of volume fans to individual eyelash extensions according to how full your client wants their lashes to look. And remember: if it's more than 60% volume fans in a lash map, it's a volume set and you should charge accordingly!
Shop our range of eyelash extensions to find your perfect finish!
Lash mapping for mega volume
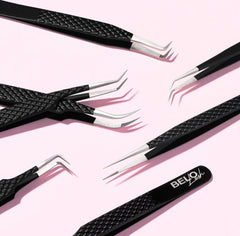
Mega volume lash maps are one of the more challenging lash styles to achieve as the placement of your volume lash fans becomes more difficult and the chance of 'stickies' increases. Make sure to use a set of tweezers that suits your lashing style and that you can isolate sufficiently with.
Like hybrids, mega volume sets can come in a range of dramatic looks: cat eye, doll eye, fox eye, open eye - you name it!
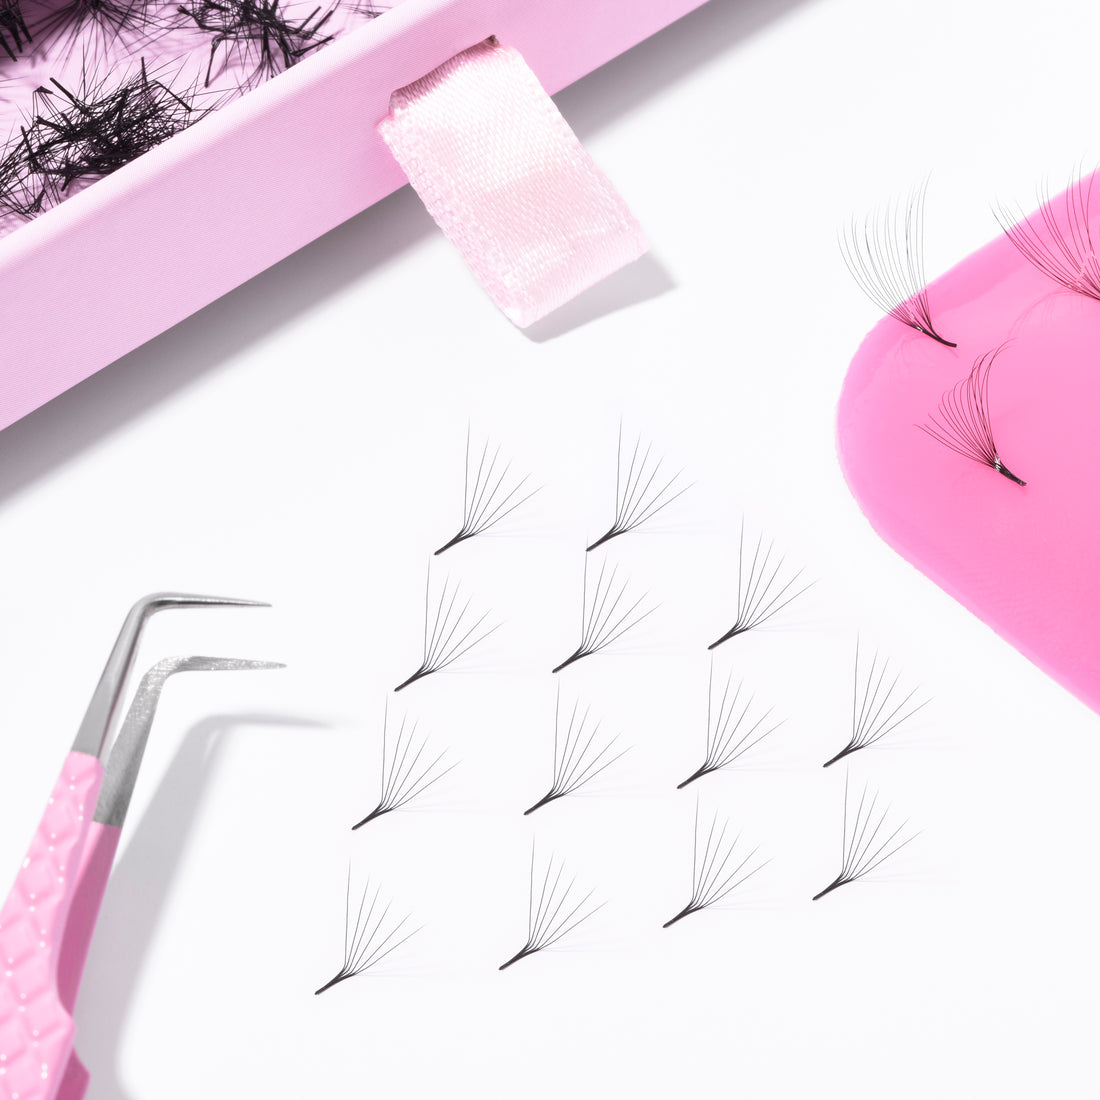
For a mega volume lash map, you will want to use volume fans of up to 18D across the lash line to create that super full volume look. The ultimate hack for a super quick mega volume lash map is to use pro made fans for perfectly constructed fans in seconds! Pro mades make it simple for you to just focus on perfecting the look and selecting the lengths and curls you need to create the desired finish.