

How do you take your client's lash treatment from so-so to sensational? With the perfect eyelash extensions and your incredible lash mapping skills, of course!
Doll eye lash extensions have become especially popular with clients today, since they can help to make the eyes look bigger, rounder, and more youthful. The trickiest part of the process is creating the perfect doll eye lash map. But with a few of our handy tips and a little practice at your disposal, you'll be able to take your lash mapping game to the next level.
What is doll eye lash mapping?
Have you ever seen those adorable porcelain dolls with big, round eyes? Well, that’s the vibe lash artists are going for when they give their client’s a doll eye lash look.
Doll eye lash mapping is a technique used by lash techs to enhance the appearance of their client’s eyes, applying the extensions in a specific pattern that mimics the look of a doll's eyes.
Generally, the trick of this style is to use longer extensions in the middle of the eye, right above the iris (the coloured part of the eye). By placing the longest lashes in the middle of the lash line, you can make your client's eyes appear much bigger than they actually are. Lash techs also use shorter extensions on the inner and outer corners of the eye to balance out the longer lengths in the middle.
Preparation
When you're prepping your doll eye lash map, you'll want to consider the eye shape you're working on. Doll eyelash extensions are fantastic for almond eyes, downturned eyes, monolids, and even upturned eyes.
Once you've identified your client's eye shape and their lash style (downward-pointing lashes, straighter lashes, etc.), you'll also need to ask them what their preferences are and what kind of look they want to achieve. Be sure to give them great advice on what will suit their eyes best.
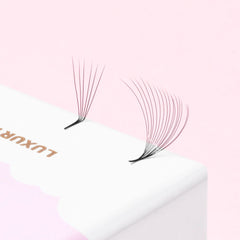
Next, it's time to pick out the perfect doll eye eyelash extensions that are going to suit the look you're going for. Ideally, you'll want to be well-stocked with a range of lash extension styles to work with and for your client to choose from. This will help you work together to build the set of your client's dreams!
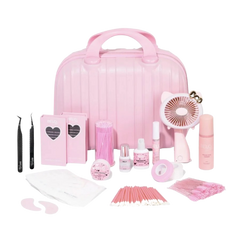
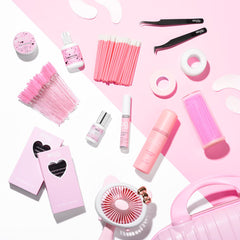
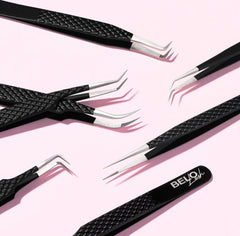
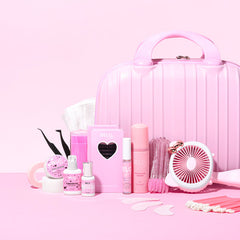
Of course, you'll also want to make sure you've got the rest of your doll eye lash mapping tools with you. Some of the more common tools you need include:
- Under eye gel pads
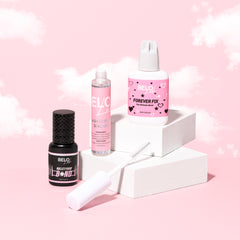
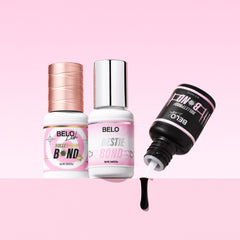
- A lash cleanser for the natural lashes
- Eyelash primer
- Lash tape
If you're looking for a one-stop shop for all of these tools (and more), be sure to take a look at our pre-treatment collection!
Step-by-step doll eye lash mapping
Now comes the fun part - making and using your very own doll eye lash map! It's important to remember that this step is essentially creating a road map to dictate where all of the eyelash extensions should go. And once you've perfected it, you can perfect an incredible doll eye look for your client.
But for now, let's get into the steps you'll need to follow to create your doll eye lash map and apply the perfect set of doll eyelash extensions.
Marking the eye
- Have your client close their eyes and find the inner corner, middle of the eye, and outer corner.
- If you're struggling to find the middle point, ask your client to look to each side before looking straight ahead. You can mark the middle of the eye (right above the iris) and either side of it as well. This middle section is where you'll focus all of the longer eyelash extensions.
- Mark the inner corner and the outer corner to correctly map where the extensions will start and end.
Create sections
- Start creating sections, working from the middle section you've marked off. You can work inward and outward to create even sections.
- Try to mirror the doll eye lash map on one side when you're planning the other side. For example, if you're using 7mm doll eye extensions on the outer corners, you'll want to use the same size on the inner corners.
- Remember to mark your sections off with a makeup pencil to ensure that your lash map is as accurate as possible.
- Place gel pads under your client's eyes while their eyes are open.
- Now, with your client's eyes closed, you can transfer the marks you've made from their skin to the pads.
Create number guides
- To make it easier to follow your doll eye lash map while you're busy, you can use numbers within the sections you've made. These will show the length of the doll eye lash extensions for each section.
- Remember to use longer extensions in the middle, while gradually making the extensions smaller toward the outer and inner corners.
Apply the lash extensions
- You can now use your doll eye lash map as a guide for applying the right lash styles and lengths to your client.
- Match the lengths and sections you've made to where you place each of the doll eye lash extensions.
Tips for doll eye lash mapping
Creating the perfect doll eye lash map can be tricky. Still, with some practice (and our expert tips), you'll be a happy mapper in no time.
Here are some of our tips to help avoid any mistakes and mishaps during the application process:
Tip #1: Be sure to mark and map the skin before you mark the gel pads, since the lash map can look pretty different when your client's eyes are open. If you only use skin mapping or gel pads to guide you, the lashes may come out uneven.
Tip #2: Always customise your map to suit your client's desired look and eye shape. Simply following the pattern and length of your client's natural lashes won't yield the doll eye effect. Adjust accordingly!
Tip #3: As a seasoned lash tech, you should aim to create a unique lash map for every client, focusing on enhancing and tailoring the lash extensions to suit their eye shape. Just because there's a certain framework to creating a lash map, this doesn't mean that there's always a 'one size fits all' solution.
For those interested in different lash styles, such as Fox Eye or Cat Eye, be sure to explore our guides on Fox Eye Lash Mapping and Cat Eye Lash Mapping.
Aftercare and maintenance
To help your clients keep their new lashes looking fabulous, you should guide them through some of the most important aftercare tips. For example:
- Your client should always keep their lashes dry for at least 24 hours after application.
- They'll need to use a lash brush to brush their lashes daily and keep them in check
- Your clients should avoid using waterproof or oil-based makeup products on their lashes.
- Always reschedule touch-ups to keep the lashes in check.
Conclusion
The beauty of being a lash tech is taking your client's natural eyelashes and transforming them into something really special. And, now that you're equipped with the tools and techniques for mapping out the perfect doll eye, you're ready to wow your clients with their next set!
If you're interested in learning about our professional techniques for applying eyelash extensions and lash mapping, we'd love to help! At BELO Lash, we have training courses to suit anyone and everyone. And if you're keen to learn more about our services, then be sure to contact us!