


The fox eye look is shaping up to become one of the most popular lash extension styles on the market. Especially with drop-dead gorgeous celebrities like Kendall Jenner and Megan Fox sporting this ultra-glamorous and sultry look on the red carpet.
To help your clients achieve the fox eye look, you'll need a bit of practice and expertise, which is where the lash map comes in. Mapping is crucial to crafting a perfect set, so it's time to brush up on your skills!
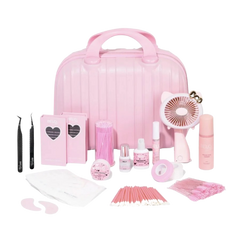
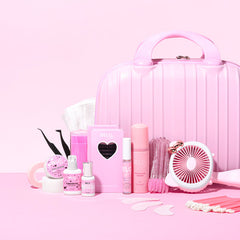
From picking out your tools to creating your map, we've made it super simple to craft the lashes of your client's dreams! So grab your adhesive and lash brushes, because it's time for some lash magic!
Understanding fox eye lash mapping
You might be wondering what it is about the fox eye look that makes it so popular. Well, this sultry style resembles an upgraded cat eye, but with an extra dose of drama. This drama isn't too overpowering, though, and still remains flattering, elegant, and timeless.
Since fox eye extensions combine the cat eye style with natural lashes, it's one of our go-to styles when it comes to practice mapping. Think of the fox eye technique as an opportunity to unleash your creative side, giving your client a little something extra to match their unique features.
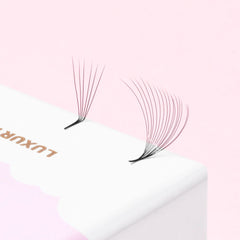
You can experiment with lash extensions of different thicknesses and curls (particularly the L lash curl) - but the real magic lies in accentuating the outer corners of the eyes and bringing the sweep of the lash slightly upward.
What sets this style apart from the rest is that it embraces irregular and asymmetric lash placement, which adds to the natural, effortless look of the fox eye. Plus, if your client's eyes are closer together, this asymmetry only becomes more pronounced.

Velvet Volume Re-Edition Lashes, £12.99 per tray
Preparation
To master the fox eye style, you'll need to be aware of all the tips and tricks involved in lash mapping. Preparation is also particularly important with this style; it can be tricky to balance the subtlety of natural lashes and the drama of the almost-cat eye look.
Generally, fox eyelash extensions are best for clients who have particular eye shapes, some of which include:
- Almond eyes
- Close-set eyes
- Upturned eyes
- Protruding, or round eyes
If your clients have any of these eye shapes and are keen to experiment with something different, we'd highly suggest recommending this style to them. Not only does it suit almost anyone's face shape and aesthetic, but it's fun to do once you get the hang of it. You should also be sure to pick out high-quality eyelash extensions to make the set truly come to life.
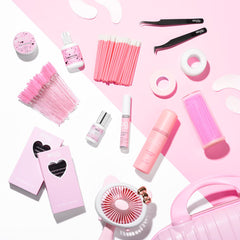
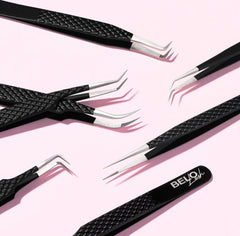
Besides your lashes, you'll need a few other lash mapping tools before you begin. Having them organised before you start makes it quicker and easier to create your lash map, ensuring you don't forget any important steps!
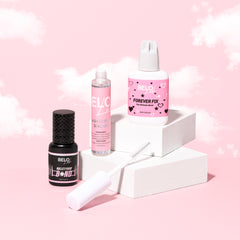
When you're getting your tools together, make sure you have all of your pre-treatment equipment, including:
- Lash tape
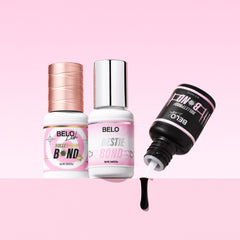
- Eyelash primer
- A lash cleanser to prep your client's natural lashes
- Under eye gel pads
Step-by-step lash mapping
If you're ready to transform your client's lashes and perfect the fox eye look, then you're going to want to map out your guide before you start.
The trick to flawless fox eye lashes is understanding how to build up the extensions. You'll want to make sure that the shortest lashes are in the inner corners of the eyes. The length should increase towards the middle of the eye (above the iris), with the longest lashes concentrated on the outer corners.
But before we dive into the details of applying the fox eye set, let's take a look at the most important steps of the process:
Mark the eye
- Start by asking your client to close their eyes so that you can mark off the inner corners, outer corners, and the middle of their eye.
- Right at the end of the outer corner of their eye, mark off an additional section where you will use a slightly shorter lash on the very end.
Establish clear sections
- Demarcate sections on each eye, working from the inner corner and moving along the lash line.
- Remember that with fox eye lashes you're going to want to increase the length of the lashes gradually, so your sections should reflect that. You may want to start with five sections, for example, so if you start with 7 to 8mm extensions in the inner corner, you can move up to a 9 in the second section, and so on.
- Mark each section with a number indicating the length you want to use in that section.
- Place your gel pads down and transfer any markings you've made to the eye to the pads. This will help you to keep track of all of your sections as you work.
Tips for fox eye lash mapping
Now that you have your fox eye map laid out, you may think you're ready to go. Still, this unique eyelash style can be challenging to perfect, especially for beginners. Luckily, we've got some top tips and tricks from our team of qualified professionals to help you create a stunning set in no time!
Tip #1: Pay close attention to your client's eye shape and the look they're going for with their eyelash extensions. You may need to adjust your fox eye map to suit the natural curve of their eye or the style of their natural lashes to perfect this look.
Tip #2: Make sure to mark both your client's eye and the gel pad to ensure your fox eye map is as accurate as possible. You will also need to refer to the guide you've made as you're working, so keeping a piece of paper with a rough sketch of your map can be really handy!

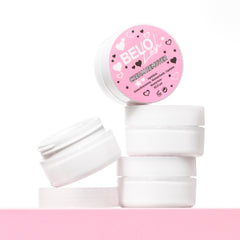
Maximum Comfort Hydrogel Eye Pad, £10.99, pack of 50
Tip #3: Fox eye lash extensions are all about striking the ideal balance between drama and timeless elegance. Be sure you aren't making the inner corners or middle of the eye too heavy, and remember to size down the lashes right at the end of the outer corner.
If you're interested in experimenting with different lash styles, such as Doll Eye or Cat Eye, be sure to explore our guides on Doll Eye Lash Mapping and Cat Eye Lash Mapping.
Aftercare and maintenance
As with any lash extensions, proper aftercare and maintenance are the two secrets that will keep your fox eye set looking picture-perfect from start to finish. Below, we've hand-picked some of the best aftercare tips to help your clients maintain their new look for longer.
- Brush and wash the extensions every day.
- Never use oil-based or waterproof makeup products on fox eye lash extensions.
- Avoid wetting the lashes for at least 24 hours.
- Reschedule touch-ups for your fox eye lashes every two or three weeks to keep them looking a-ma-zing!

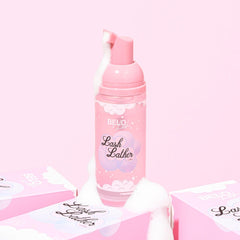
Whipped Dream Mousse Cleanser, £14.99, 100ml
Conclusion
So, whether it's your first time trying fox eye mapping out or you're looking to perfect your technique, remember to have fun with it! After all, we’re not just lash techs, we're artists, and experience is the key to making our client’s lashes perfect every time.
But if you need a little more help along the way, don't be shy! Be sure to contact us, or book your very own training course today!


