

Whether you are an experienced professional or new to the game, you'll know that the lash business is full of innovative products and techniques that promise your clients that perfect, fluttery finish following a treatment. But with so much out there, it's crucial to stay updated on the best products and methods to ensure your work stands out. One such game-changer comes in the form of lash sealant.
But what exactly is lash sealant, and how can it be used to benefit your clients? Let's take a closer look at lash sealants, unlocking some secrets about how to protect lashes and prolong their lifespan!
What is lash sealant?
Have you ever been approached by a client, wondering how to keep their new set of lash extensions looking fresher for longer? Well, lash sealant could be their secret weapon.
A specialised cosmetic product that can be applied directly to lash extensions to increase their longevity, the basic function of lash sealant is to provide a protective barrier between the extensions and any potential harm that can befall them. Dust, humidity, water and oils do not stand a chance with a high-quality lash sealant!
Types of lash sealants
There are a variety of different lash sealants on the market today, but here are some of the main types that can be purchased:
- Clear sealant: The most common type of lash sealant. It dries transparent, ensuring that the extensions retain their natural look.
- Black sealant: It dries black, adding a mascara-like finish to the lashes. This type of sealant is great for those who like a darker, more defined look.
- Brush-on sealant: The brush applicator allows for precision, ensuring that the sealant is evenly distributed. This type is user-friendly, making it a favourite among both professionals and consumers.
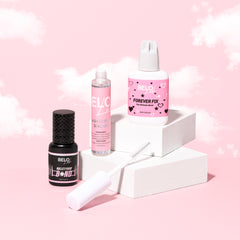
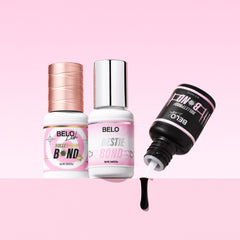
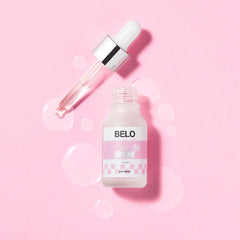
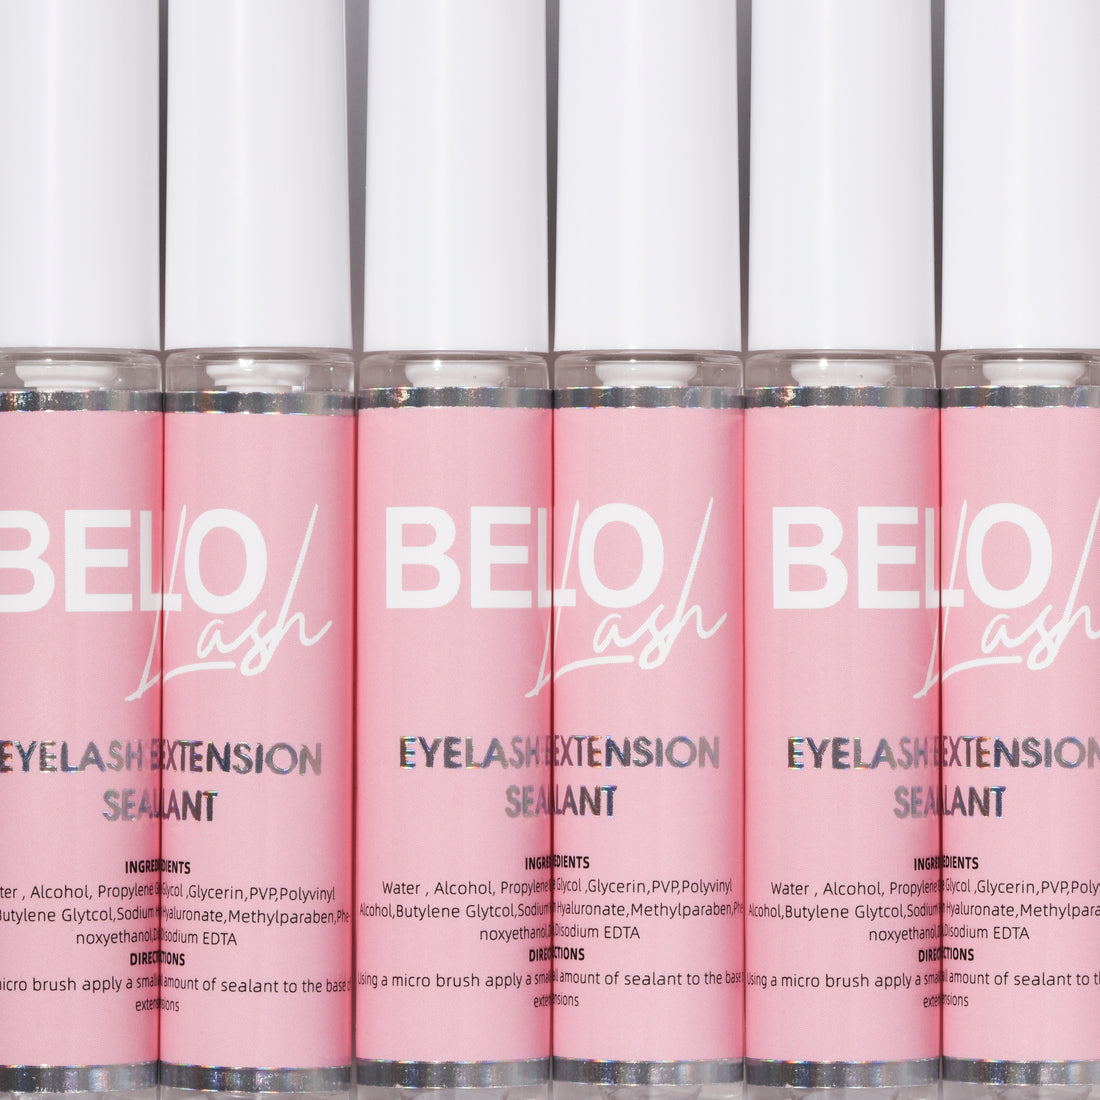
- Aftercare sealant: Given its dual-purpose, aftercare sealant is a popular choice. Not only does it protect the extensions from the elements, but it also nourishes the natural lashes. Here at BELO Lash, we provide our very own post-treatment product, the Lock It In Sealant!
Benefits of using lash sealants
How does a lash sealant impact lash extensions? There are a number of benefits to applying eyelash sealant to lash extensions, which we have discussed below.
- Protection: Lash sealants offer protection from dust, dirt, oil and moisture, such as sweat, and water (some sealants are water-soluble, while others are water-resistant).
- Prolonged lifespan: Taking care of your client's eyelash extensions keeps them lasting longer, and lash sealant helps to boost their lifespan.
- Retention: Eyelash extension sealant helps the glue hold onto the natural lashes for longer.
- Extra gloss or shine: It may be subtle, but the extra shine from the sealant helps make the extensions look healthier and brighter.
- Volume: Lash sealant adds extra volume to the lashes.
How to apply lash sealant
Now that you know what good lash sealers can do for lash extensions, it is time to learn how to use lash sealant.
It is important to remember that applying lash sealant requires precision and skill, and isn’t something to do in a hurry. So, to start, make sure you have the right tools for the job.
What you will need:
- Clean, soft cloth or cotton wool
- Lash cleanser
- Clean applicator or brush (or use the applicator provided with the sealant)
- Lash extension sealant
Step 1: Prepare the lashes
Before you start applying the sealant, make sure that the area around the eyes has been properly cleaned. Dab or gently wipe the area with a soft cloth or moistened cotton wool, but make sure it isn’t too wet. Then, start cleaning the eyelash extensions and the area near the lashes. Make sure these are thoroughly cleansed. This is really important!
Remove any makeup, residues or oils that may still be on the lash extensions.
Apply lash cleanser using an applicator to gently comb through the lashes and brush away any remaining dirt.
Don't forget to clean the lash line as this area must be properly cleaned before applying any lash sealant. After doing so, wait a few minutes (three minutes should be suitable) for the lash extensions to be completely dry before moving on to the next step. You can't start applying the sealant if the area is still wet.
Step 2: Apply the lash sealant
When the lashes are thoroughly dried, open the lash sealant container. The container could be either a bottle or a tube. Do not shake the sealant. Shaking the container will cause air bubbles, which will make the lash sealant application uneven.
Usually, any eyelash extension sealer will come complete with an application brush, but you may choose to apply the eyelash extension sealant with a different applicator. Dip the applicator into the sealant and remove the applicator. Remove any excess product from the applicator or brush. You can run the brush or wand against the inside of the bottle or tube.
Eyelash extensions attached to the eyelashes are about 0.5mm from the eye line. Be careful to stay away from the adhesive. Start your brush strokes mid-eyelash to be safe. Your application of the sealant should start about 3mm from where the extensions and lash line meet.
Start mid-length on the first eyelash extension, and apply the coating sealant to the eyelash extensions evenly for a natural look. Avoid clumping. You want to apply the eyelash extension sealer in a similar manner as you would mascara.
When the first eyelash extension has been coated, you can move on to the second eyelash extension. Don't apply the sealant to the area where the lash extensions are attached to the natural eyelashes. The reason for this is that the adhesive that holds the eyelash extensions to the natural eyelashes may be weakened.
Step 3: Aftercare tips
Now for some post-application care.
After the sealant is applied, wait a few minutes for it to dry. Products differ, so follow the instructions on the bottle. Typically though, lash sealants will dry within 5–10 minutes.
Do not touch or rub the area around the eyes during this time. Allow enough time for the lash sealant to dry completely before applying mascara, eyeliner or eyeshadow.
Clean the applicator brush or wand by wiping off any excess sealer with a damp cloth or tissue.
Tips and tricks
If your applicator is broken or missing, you can use a disposable mascara wand. If you previously used the mascara wand, ensure that it has been thoroughly cleaned and that there is no old, hardened mascara still stuck to the bristles of the wand.
Generally, you will need to apply one layer of sealer. However, if the lashes you are working on need a topcoat, wait until the first layer has thoroughly dried. Only then should you apply a topcoat.
Less is more. Too much sealant is not good for the lashes. Regular applications (every 2-3 days) will provide maximum retention benefits for the bonding adhesive.
Conclusion
BELO babes, get ready to embrace the immense power that lash sealant can bring to your client's lashes. Just like a manicure for nails, a lash sealant can prolong and bring new life to your client's lashes. For any more information, contact us or purchase your very own sealant from our online shop. Your clients will thank you!