





If you’ve been lashing for any amount of time, you’ll have heard the term ‘wispy’ thrown around a lot. ‘Wispy’ as a term refers to any style of lash set (classic, angel, hybrid, volume) that uses different lash lengths and curls to create a beautiful, fluttery, bespoke look.
Wispy volume lashes are particularly popular in the lash industry right now, as we are seeing more clients opting to enhance their previously natural-looking sets, as the "clean girl" craze is loosening its grip to make way for more dramatic, glamorous styles.
What are wispy volume lashes?
Wispy volume lashes are lash extension sets created using a blend of closed fan "wisps" and volume fans. These sets can be completely adapted and tailored to each client depending on their desired look, and allow us as lash techs to create completely bespoke lash sets.
Tip 1) Using an eye pad to isolate the top layer of lashes
The key to making your wispy sets stand out is to incorporate layering techniques into the set. Most clients with a healthy set of lashes will have at least 2 layers to their natural lashes, in order to make the wisps stand out its important we are placing them onto the top layer, if not its likely the wisps will get completely lost in the volume fans and we want to avoid this!
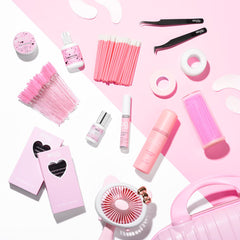
You can usually tell just by looking at your clients lashes where the layers sit, but a tip i like to use is the "pad method" this is where we use a hydrogel eye pad placed on the top of the lashes, we can then, using our tweezer gently pull out the top layer of lashes.
Not only does doing this trick ensure we are placing our wisps on the correct layer, it also makes it super easy to isolate! Depending on the clients desired result and natural lashes, you can add as many or as little wisps to the set.

Hydrogel Eye Pads, Pack of 50, £10.99
Tip 2) Use shorter volume fans next to wisps
To give the wisps more impact it’s essential we keep the base layers shorter, this is the secret to a prominent wispy set!
From experience, I’d advise dropping the lengths by at least 3-4mm for the volume fill areas. For an even stronger contrast you can implement mixing curls within the set, keeping the strongest curl (D or CC curl, for example) on the top layer for the wisps, and then dropping not only lengths but using a less strong curl on the base layer (C curl, for example).
An example of a wispy map to use would be:
-
Top layer (wisps): 10 / 12 / 13 mm / CC curl
-
Bottom/mid layer (volume fans): C Curl 7 / 9 / 10

Velvet Volume Re-Edition, £12.99 per tray
Tip 3) Isolation is key!
Isolating the lashes well is super important with any set we do, it’s one of the main basic skills we need to overcome when we first qualify in lash extensions. But it’s especially important when we create a wispy set.
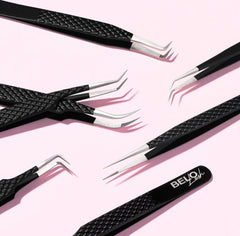
Of course, proper isolation is key for the natural lash health and comfort, but for wispy volume lashes in particular, it’s important because we are working with different contrasts in lengths within the set. For every set I create, my go to isolation tweezer is the baby isolator, as the curved tip allows us to really get in there and separate the natural lashes with ease.

BELO Lash tweezers, £14.99 each
Tip 4) Use less lashes in your volume fans than in your wisps
In a wispy volume set, we don't want to overpower the wisps as we want them to be the main focus of the lash look. The easiest way to do this is to make sure we keep the D of the volume fans less than the amount of fibres we pick up for the wisps. This means your closed fan wisps will stand out on the lashline and keep the dimensional look we’re going for.

Example wispy volume lash set, created using Velvet Volume Re-Edition lashes
Tip 5) Lock in the look with lash sealant
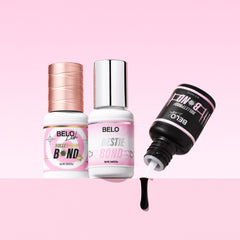
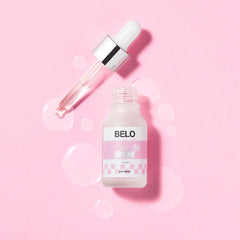
To finish the set with peace of mind that our client is going to get the very best retention, apply our lock it in lash sealant to the glue points of the extensions!


