


As a professional brow artist or beauty enthusiast, you probably already know a bit about brow lamination and how it creates full, perfectly groomed brows. But if you want to enhance your skills to ensure flawless, long-lasting results every time, you may still need a little help.
In this guide, we’ve shared some advanced brow lamination techniques and tips that will have clients clamouring to book an appointment with you.
7 Advanced Brow Lamination Techniques
As a capable BELO Babe, brow lamination is not a complicated treatment. However, achieving exceptional results requires more than just following a few basic steps. These techniques and brow lamination tips will definitely make you a sought-after brow artist.
1. Consult Your Client Before Starting
Chatting to your client before going ahead with the brow lamination is the most important step of the process. It’s vital that you find out exactly what style they’re looking for, whether they have any skin allergies, and their skin type. It’s also best practice to do a patch test at least 24 hours before the appointment to check your client’s sensitivity to the products.
2. Cleanse the Brow Area Properly
Before starting the lamination process, cleanse the brows with a gentle cleanser to remove any dirt, oil, and makeup residue. Pat the brows dry.
3. Tailor the Lamination Process to Different Brow Types
We’re all beautifully unique, and that includes our eyebrows! Before starting, assess the thickness, density, and direction of their brow hairs. For coarse or stubborn hairs, extend the processing time slightly. For finer brows, reduce the time to prevent over-processing.
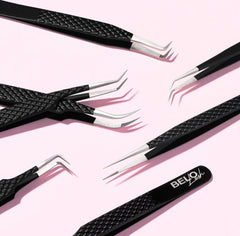
4. Ensure Precision Application with High-Quality Tools
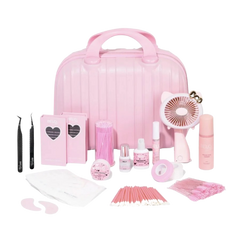
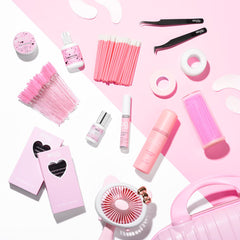
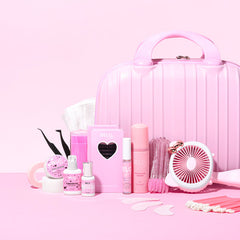
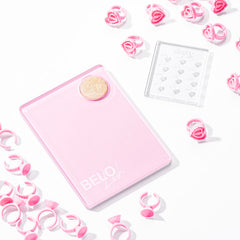
With the right tools, you can ensure that every step of the process is executed flawlessly. This is where a lash lift & brow lamination kit saves the day!
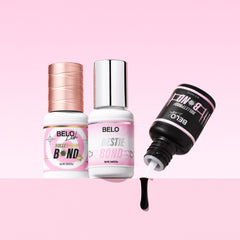
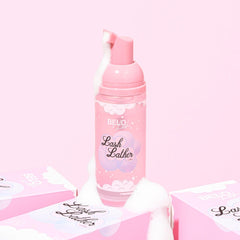
The BELO Lash Worlds Above Lash Lift & Brow Lamination Kit includes all the essentials for a smooth application, from lifting solutions to shaping tools. Pair these with the BELO Lash Microbrushes for precise product application, especially around delicate areas.
5. Setting the Brows
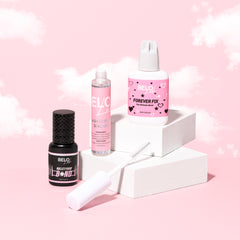
First, use a micro brush to apply a thin coat of the “Step 1 Lift” solution from the lash lift & brow lamination kit to the brows. Then, use a clean spoolie to comb and set the hairs in the desired direction, ensuring every hair is properly coated. Wipe away any excess solution with a cotton swab.
Stretch a piece of cling wrap tightly across the brows, making sure there are no bubbles. The wrap helps the setting process. Set a timer for 7 – 10 minutes, depending on your client’s hair thickness and density. Once the time is up, clean the solution away with a dry cotton swab.
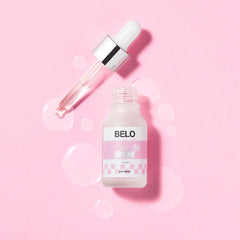
Next, use the “Step 2 Fix” solution, leaving it in for 7 – 10 minutes. Wipe the solution off with a swab. If tinting is on the schedule, it should be done at this point. Then, apply “Step 3 Nourish,” brush through, and your client is good to go.
6. Precise Brow Hair Positioning
A brow lamination should result in a perfectly groomed, fluffy, symmetrical look. Brush about an eighth of the front of the brow upwards, the middle section at a 45° angle to the client’s ear, and the tail should point towards the ear. This strategic placement enhances the natural brow shape while creating a polished and lifted effect. Adjust the angles subtly based on the client’s facial structure for a more tailored finish.
7. Educate Your Clients
Clients must understand that they must baby their newly laminated brows for the first day or two post-treatment. Proper brow lamination aftercare ensures the longevity of the brows, so inform your clients of the following post-treatment rules:
-
Avoid Water and Steam: Do not get the eyebrows wet or expose them to steam for the first 24 hours after treatment to allow the lamination to set properly.
-
Skip the Makeup: Go au-naturel for the first few days to help the setting process.
-
Sleep on Your Back: You can ruin new, fluffy eyebrows by scrunching them into their pillows, so encourage your clients to try sleeping on their backs for a few days.
-
Brush Daily: For ongoing brow lamination aftercare, give your clients a clean spoolie brush, and remind them to brush their brows daily to maintain their new look.
Troubleshooting Common Challenges
Even seasoned BELO Babes can face challenges during lamination treatments! Here’s how to avoid them:
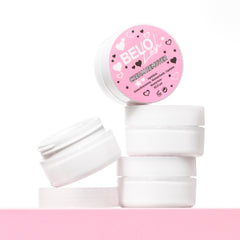
Uneven Processing: Use brow lamination tools like microbrushes to distribute the lifting solution evenly and monitor processing times carefully.
Overprocessed Brows: Add some perm lotion where the brows are too curly. Brush the hairs to the side, adding more solution until the overprocessed brows start to straighten. Press cotton pads onto the brows to remove the perm lotion and use a nourishing oil or serum.
Brows Not Holding Shape: Make sure you cleanse and prime the eyebrows properly before starting.
Top Brow Lamination Tips
Here are some more handy brow lamination tips to make sure you’re the go-to brow guru:
-
Get Your Timing Perfect: Do a thorough assessment of your client’s hair thickness, as this influences how long you should leave the solutions on the brows.
-
Help Your Clients Choose Styles That Suit Their Faces: Different brow styles suit certain face shapes better. Choosing a style that flatters your client's face means they’ll leave happy and return for more treatments.
-
Continue Your Education: Attend workshops and follow industry leaders to stay updated on the latest brow lamination tips, trends, and techniques.
Create Consistently Beautiful Brows With These Brow Lamination Tips And Techniques
Mastering the art of this beauty treatment takes practice, attention to detail, and the right brow lamination tools.
By refining your techniques and using BELO’s top-quality lash lift & brow lamination kit
and other premium products, you’ll keep your clients coming back for beautiful brows!